CryoAdvance™ 50

Documentation

Product Name
CryoAdvance™ 50
Overview

The CryoAdvance™ product family offers a superior level of performance, flexibility, and usability in a closed-cycle cryostat.
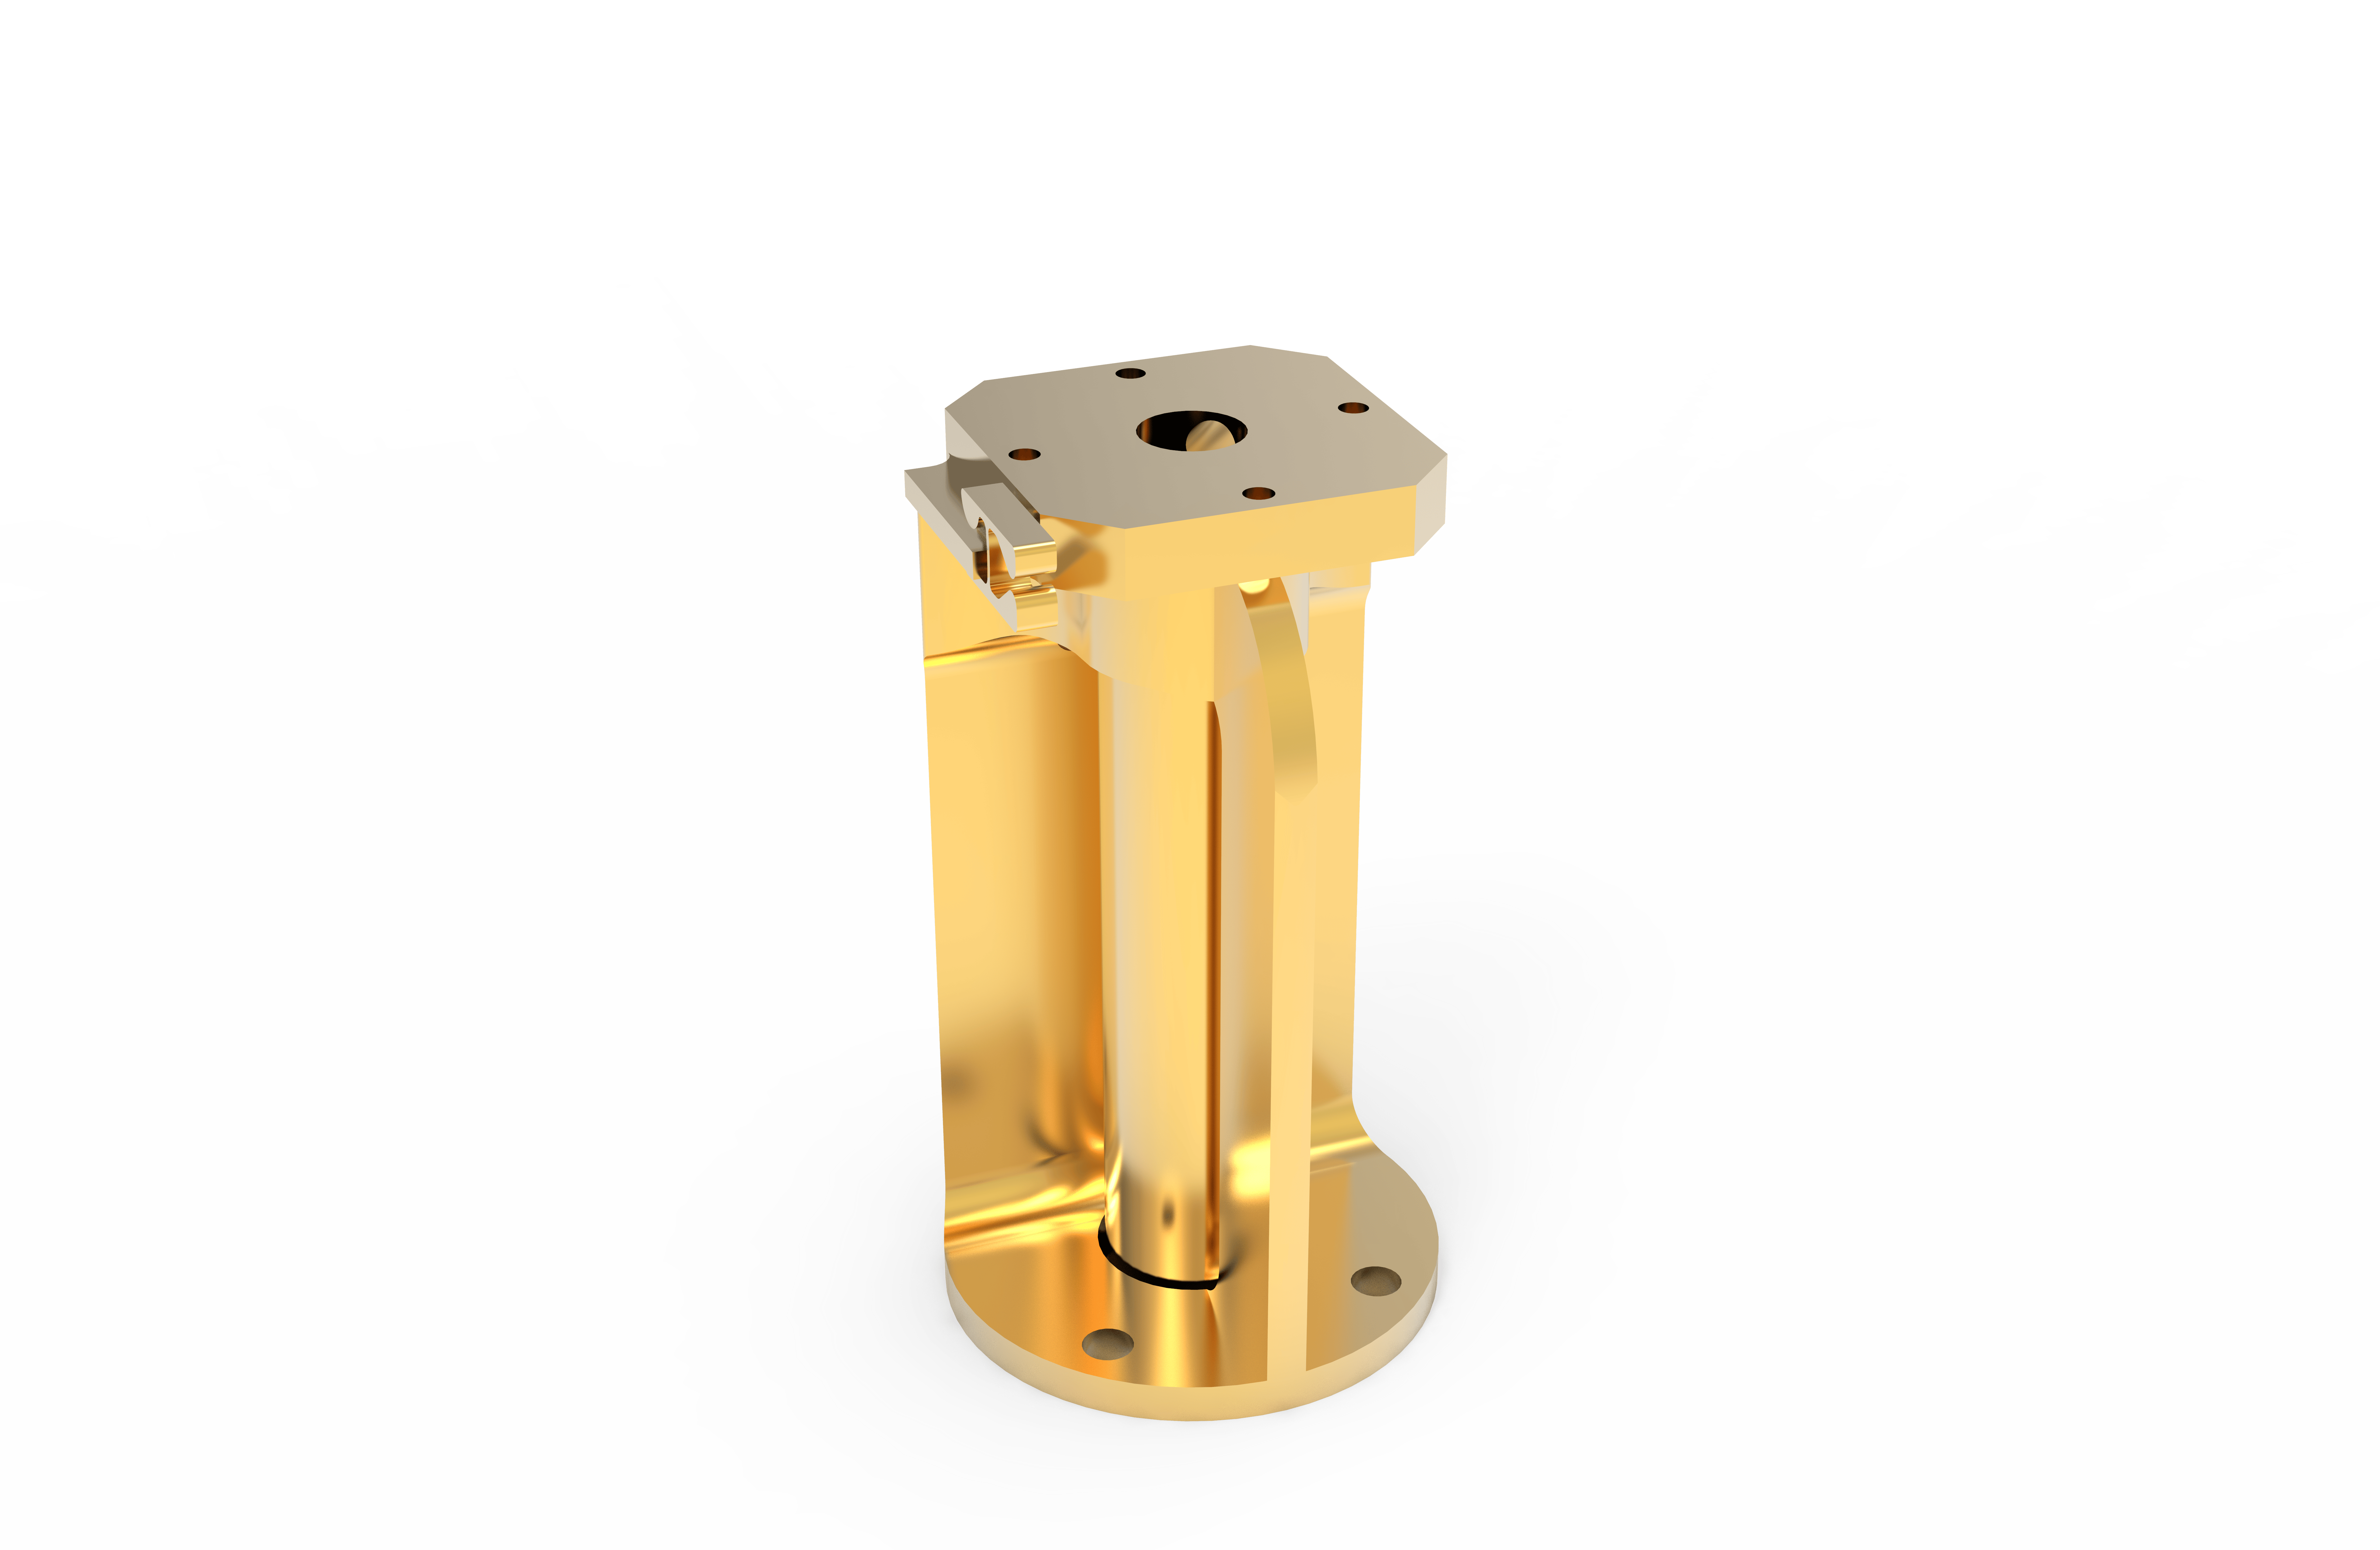
The CryoAdvance™ 50 has a 50 mm diameter sample chamber with the lowest possible base temperature, platform vibrations, and cooldown time. The sample chambers are designed to accommodate a variety of configurations with incredible sample, electrical, and optical access for total experiment flexibility; simply lift off the window assembly and radiation shield for unobstructed access to the sample and wiring.
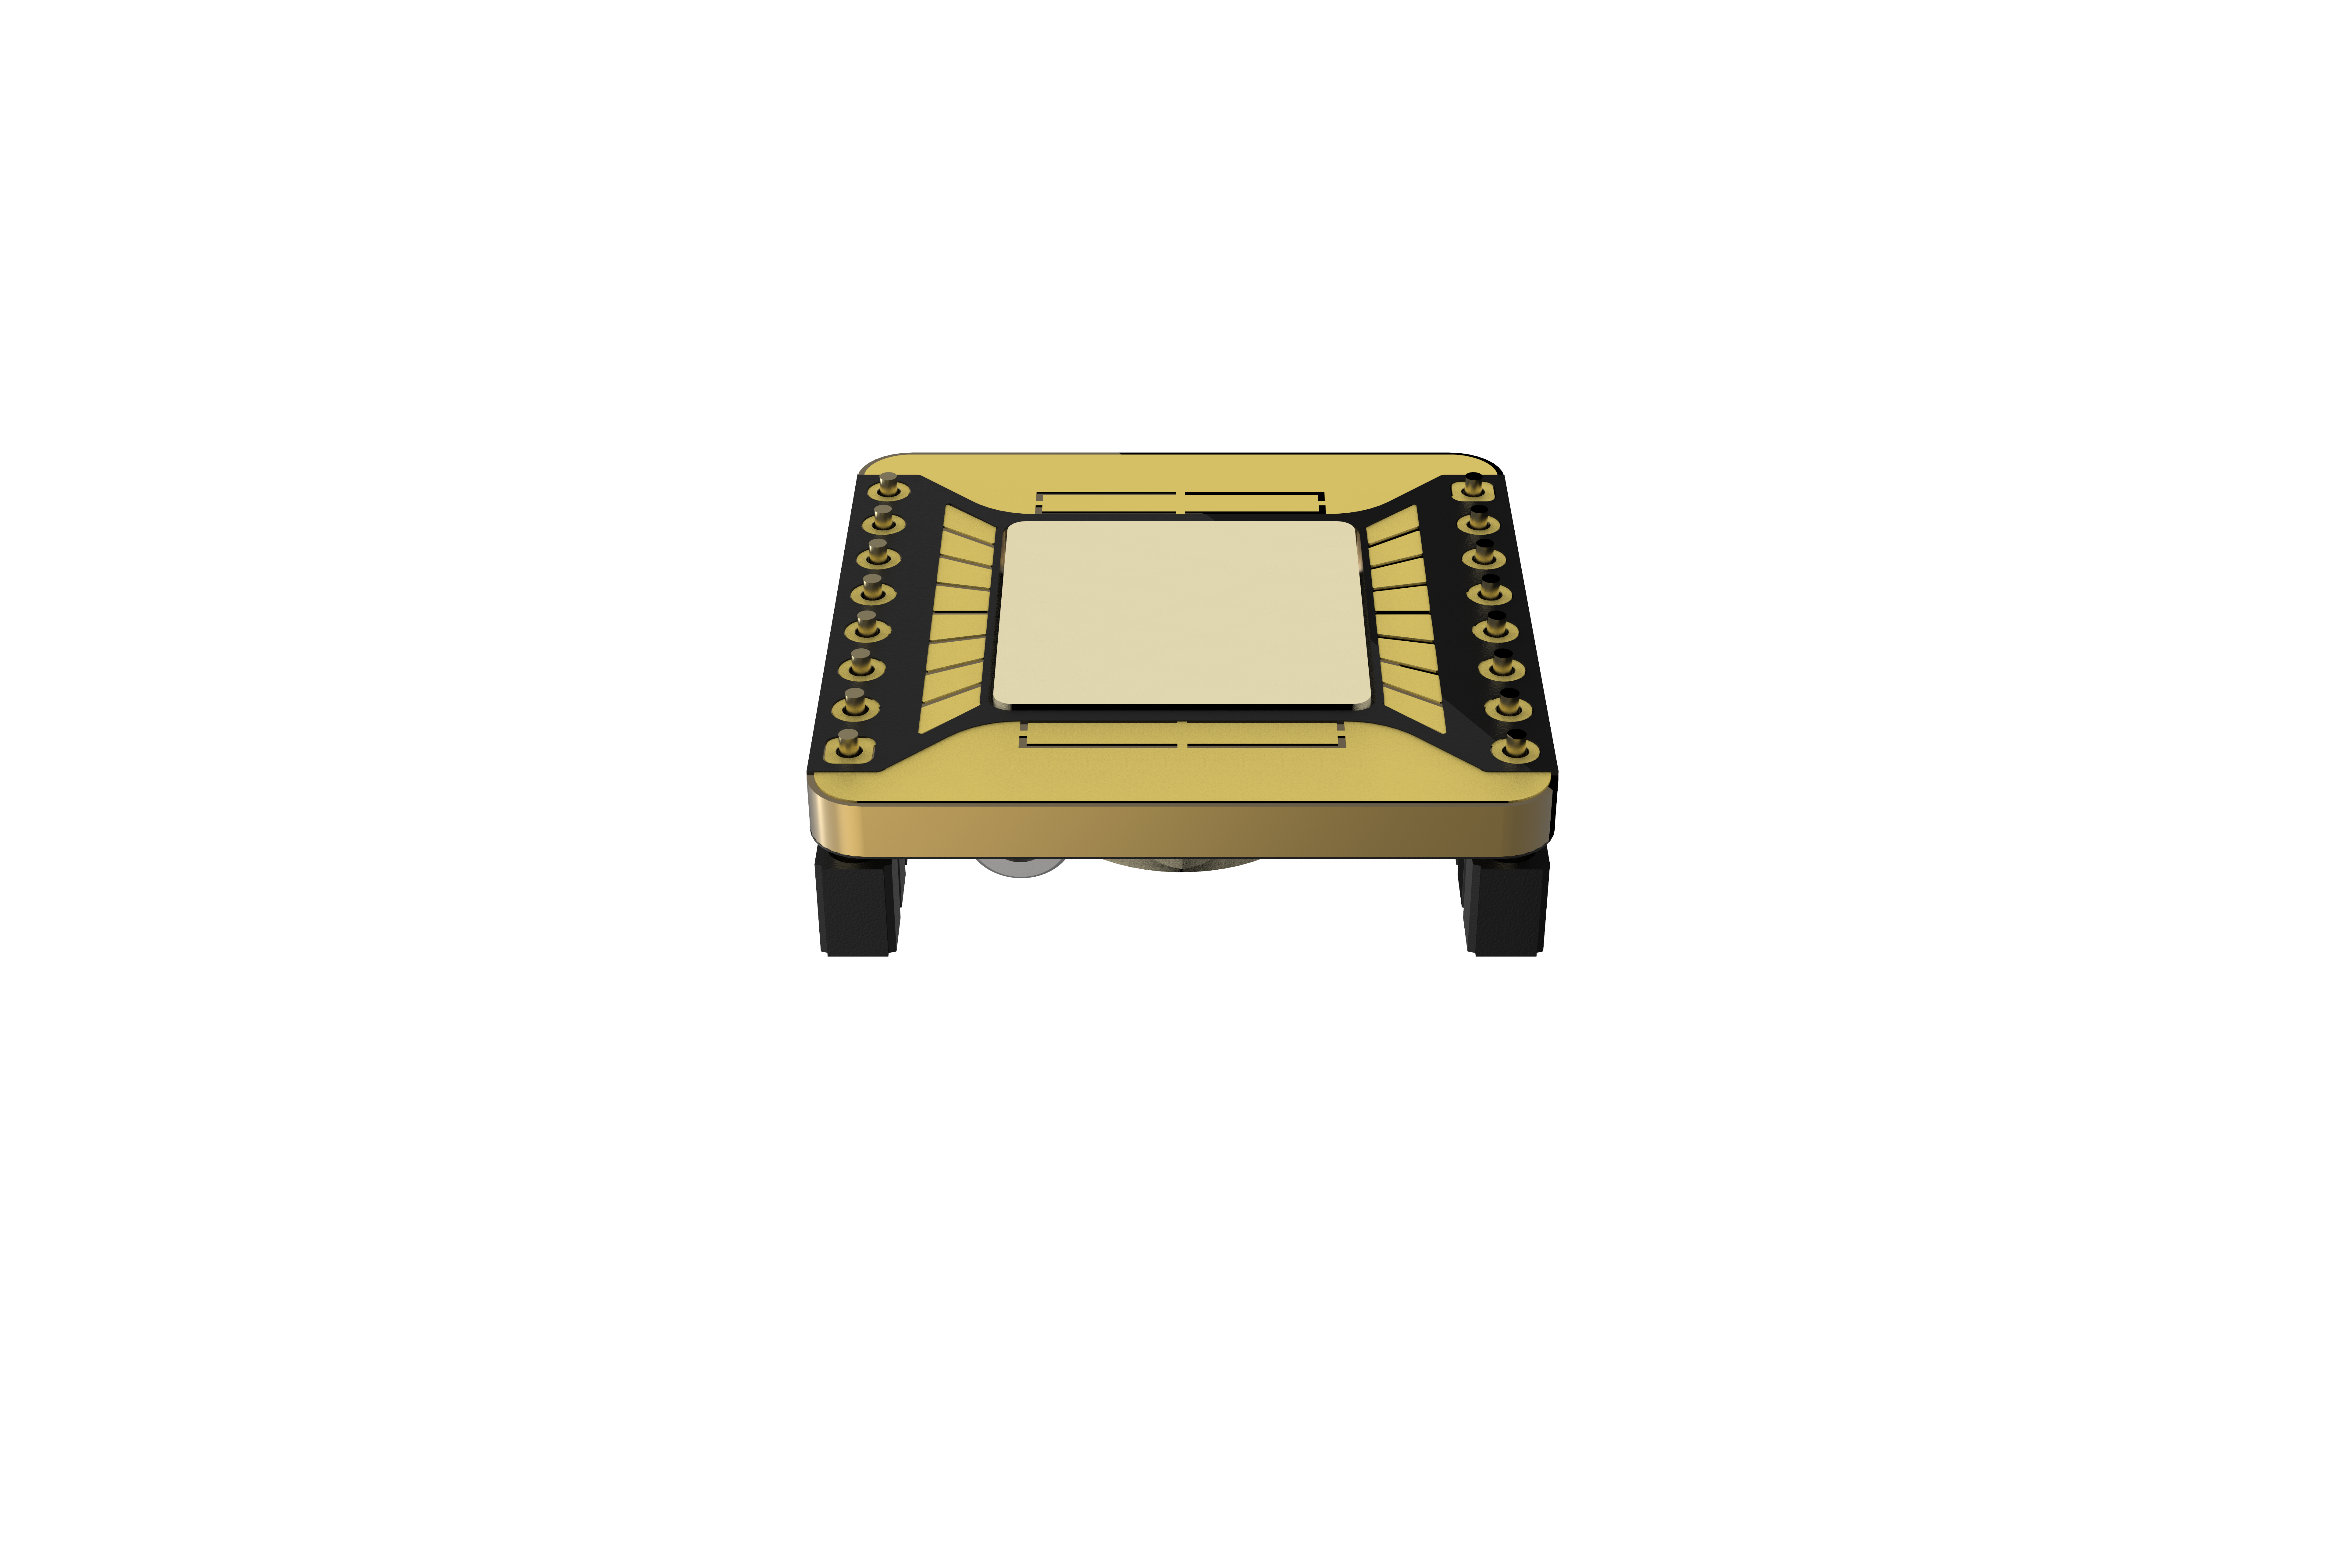
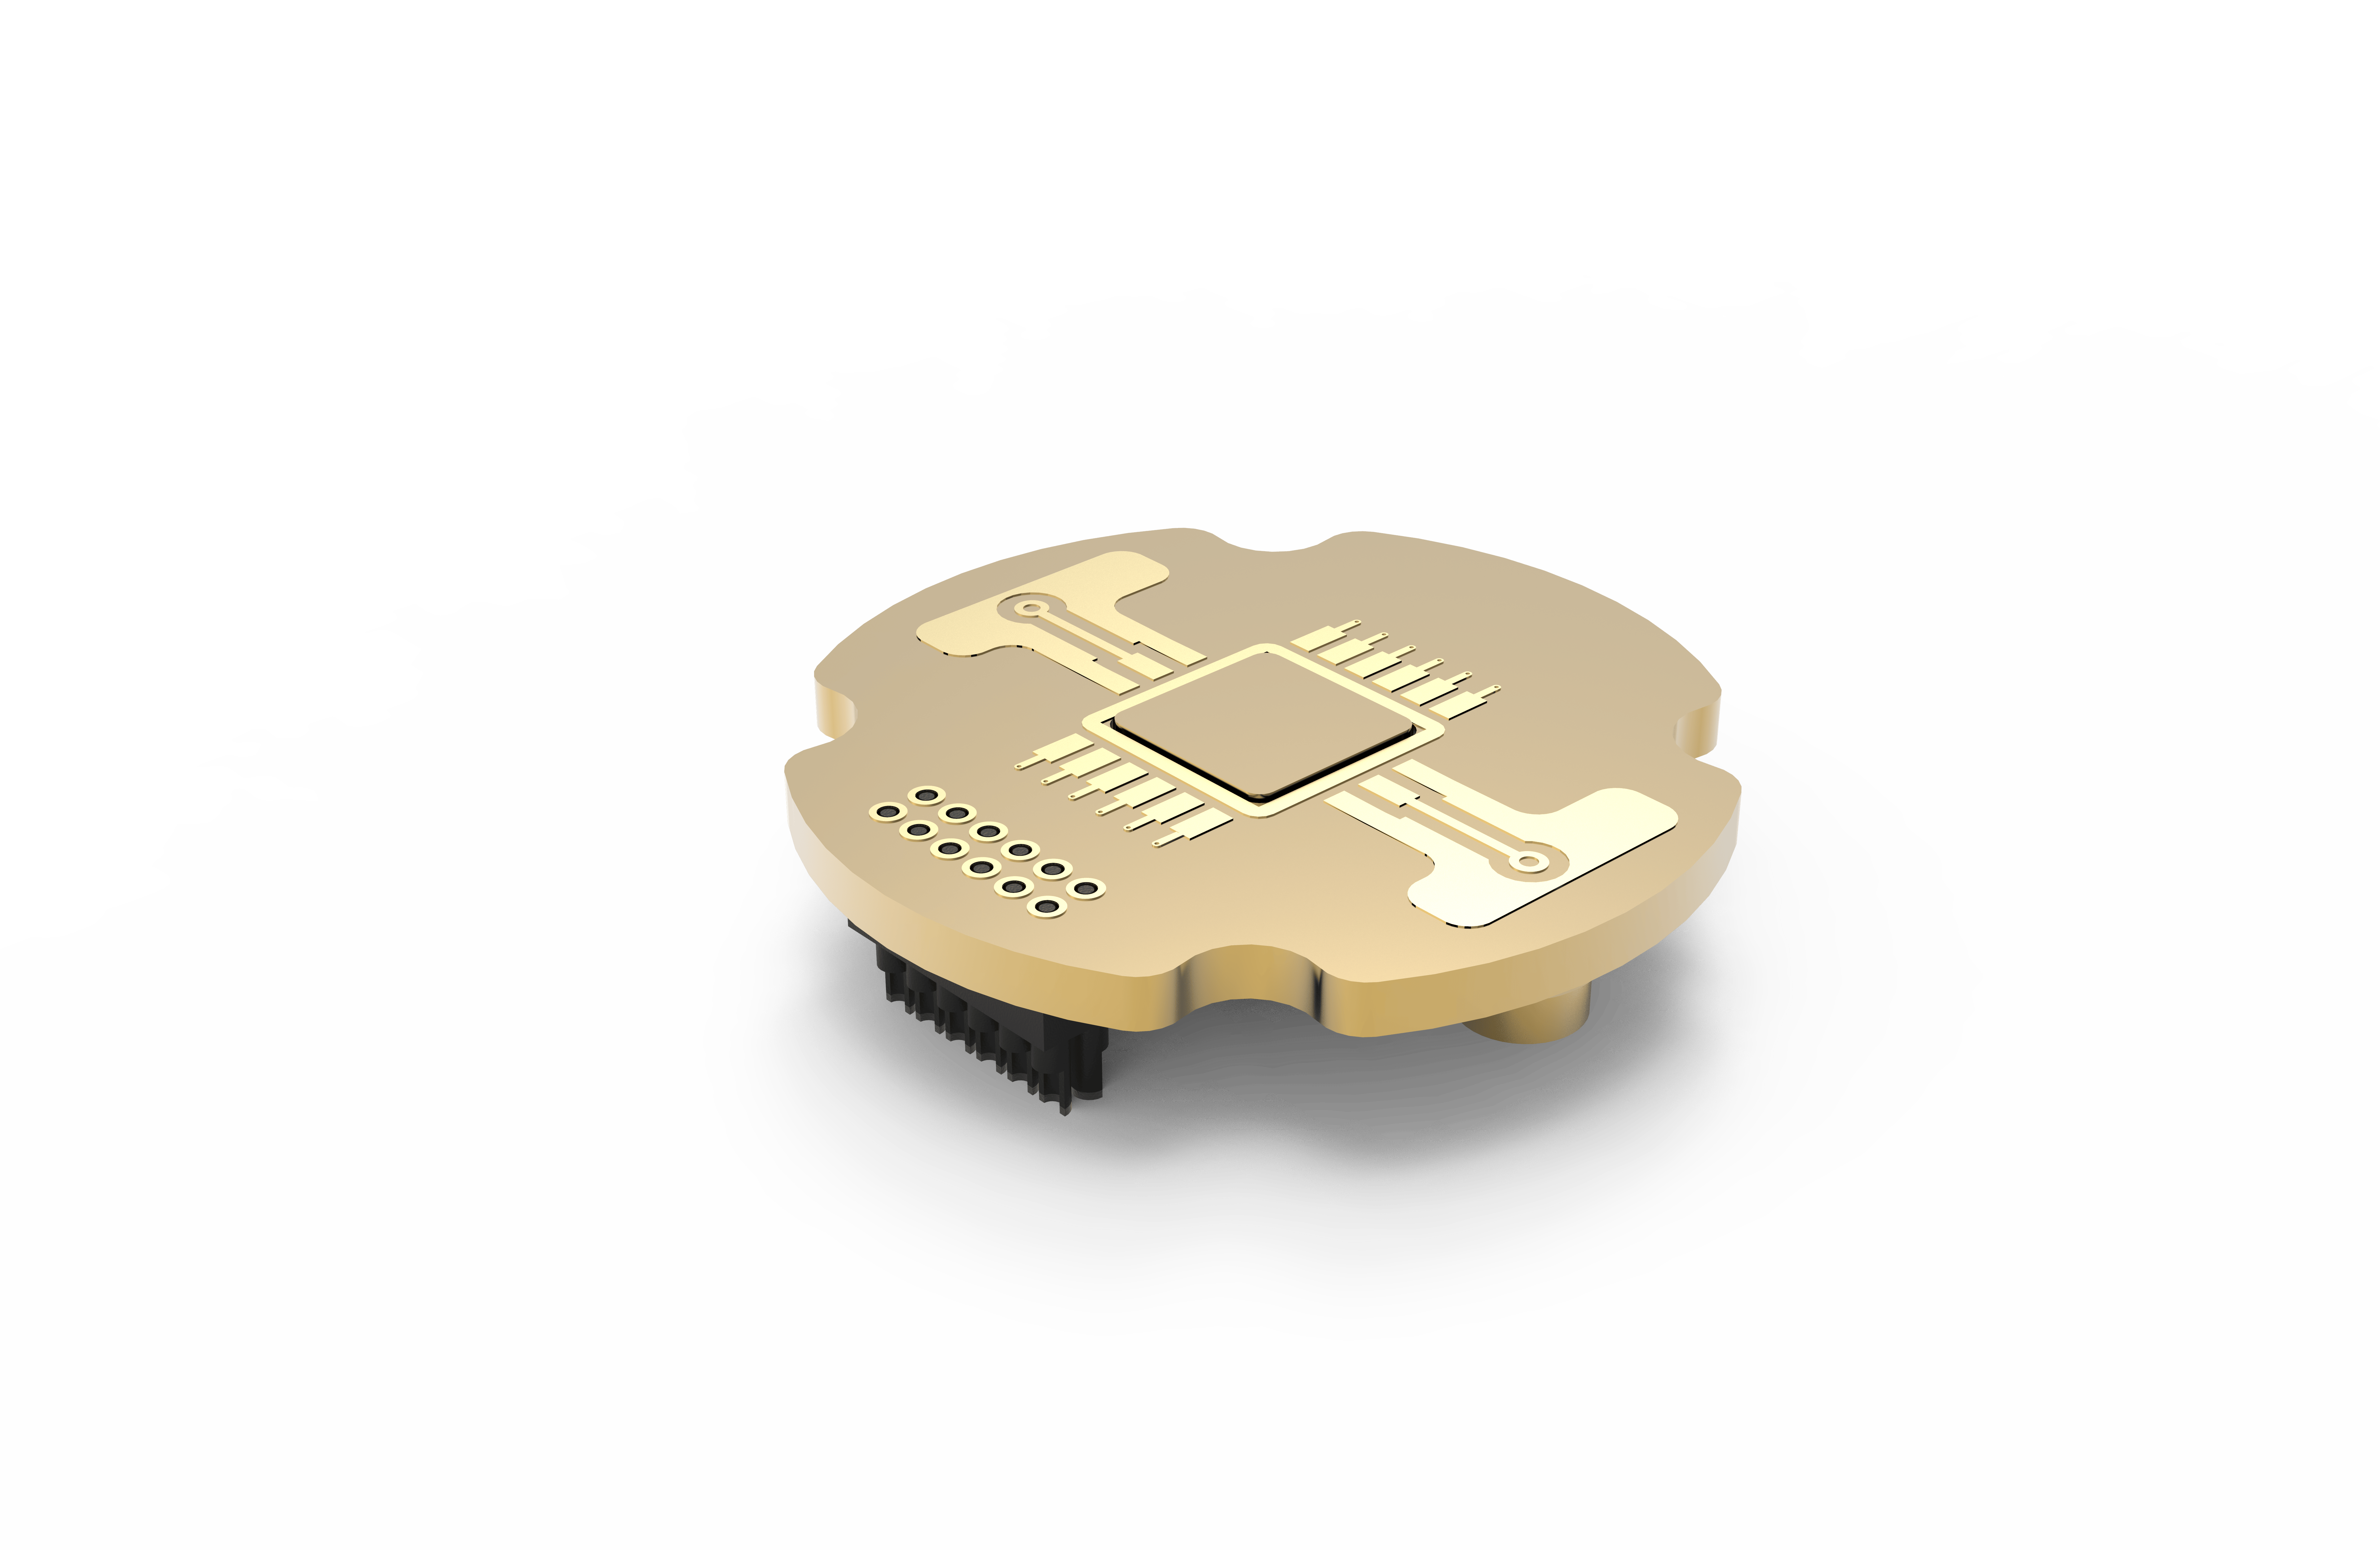
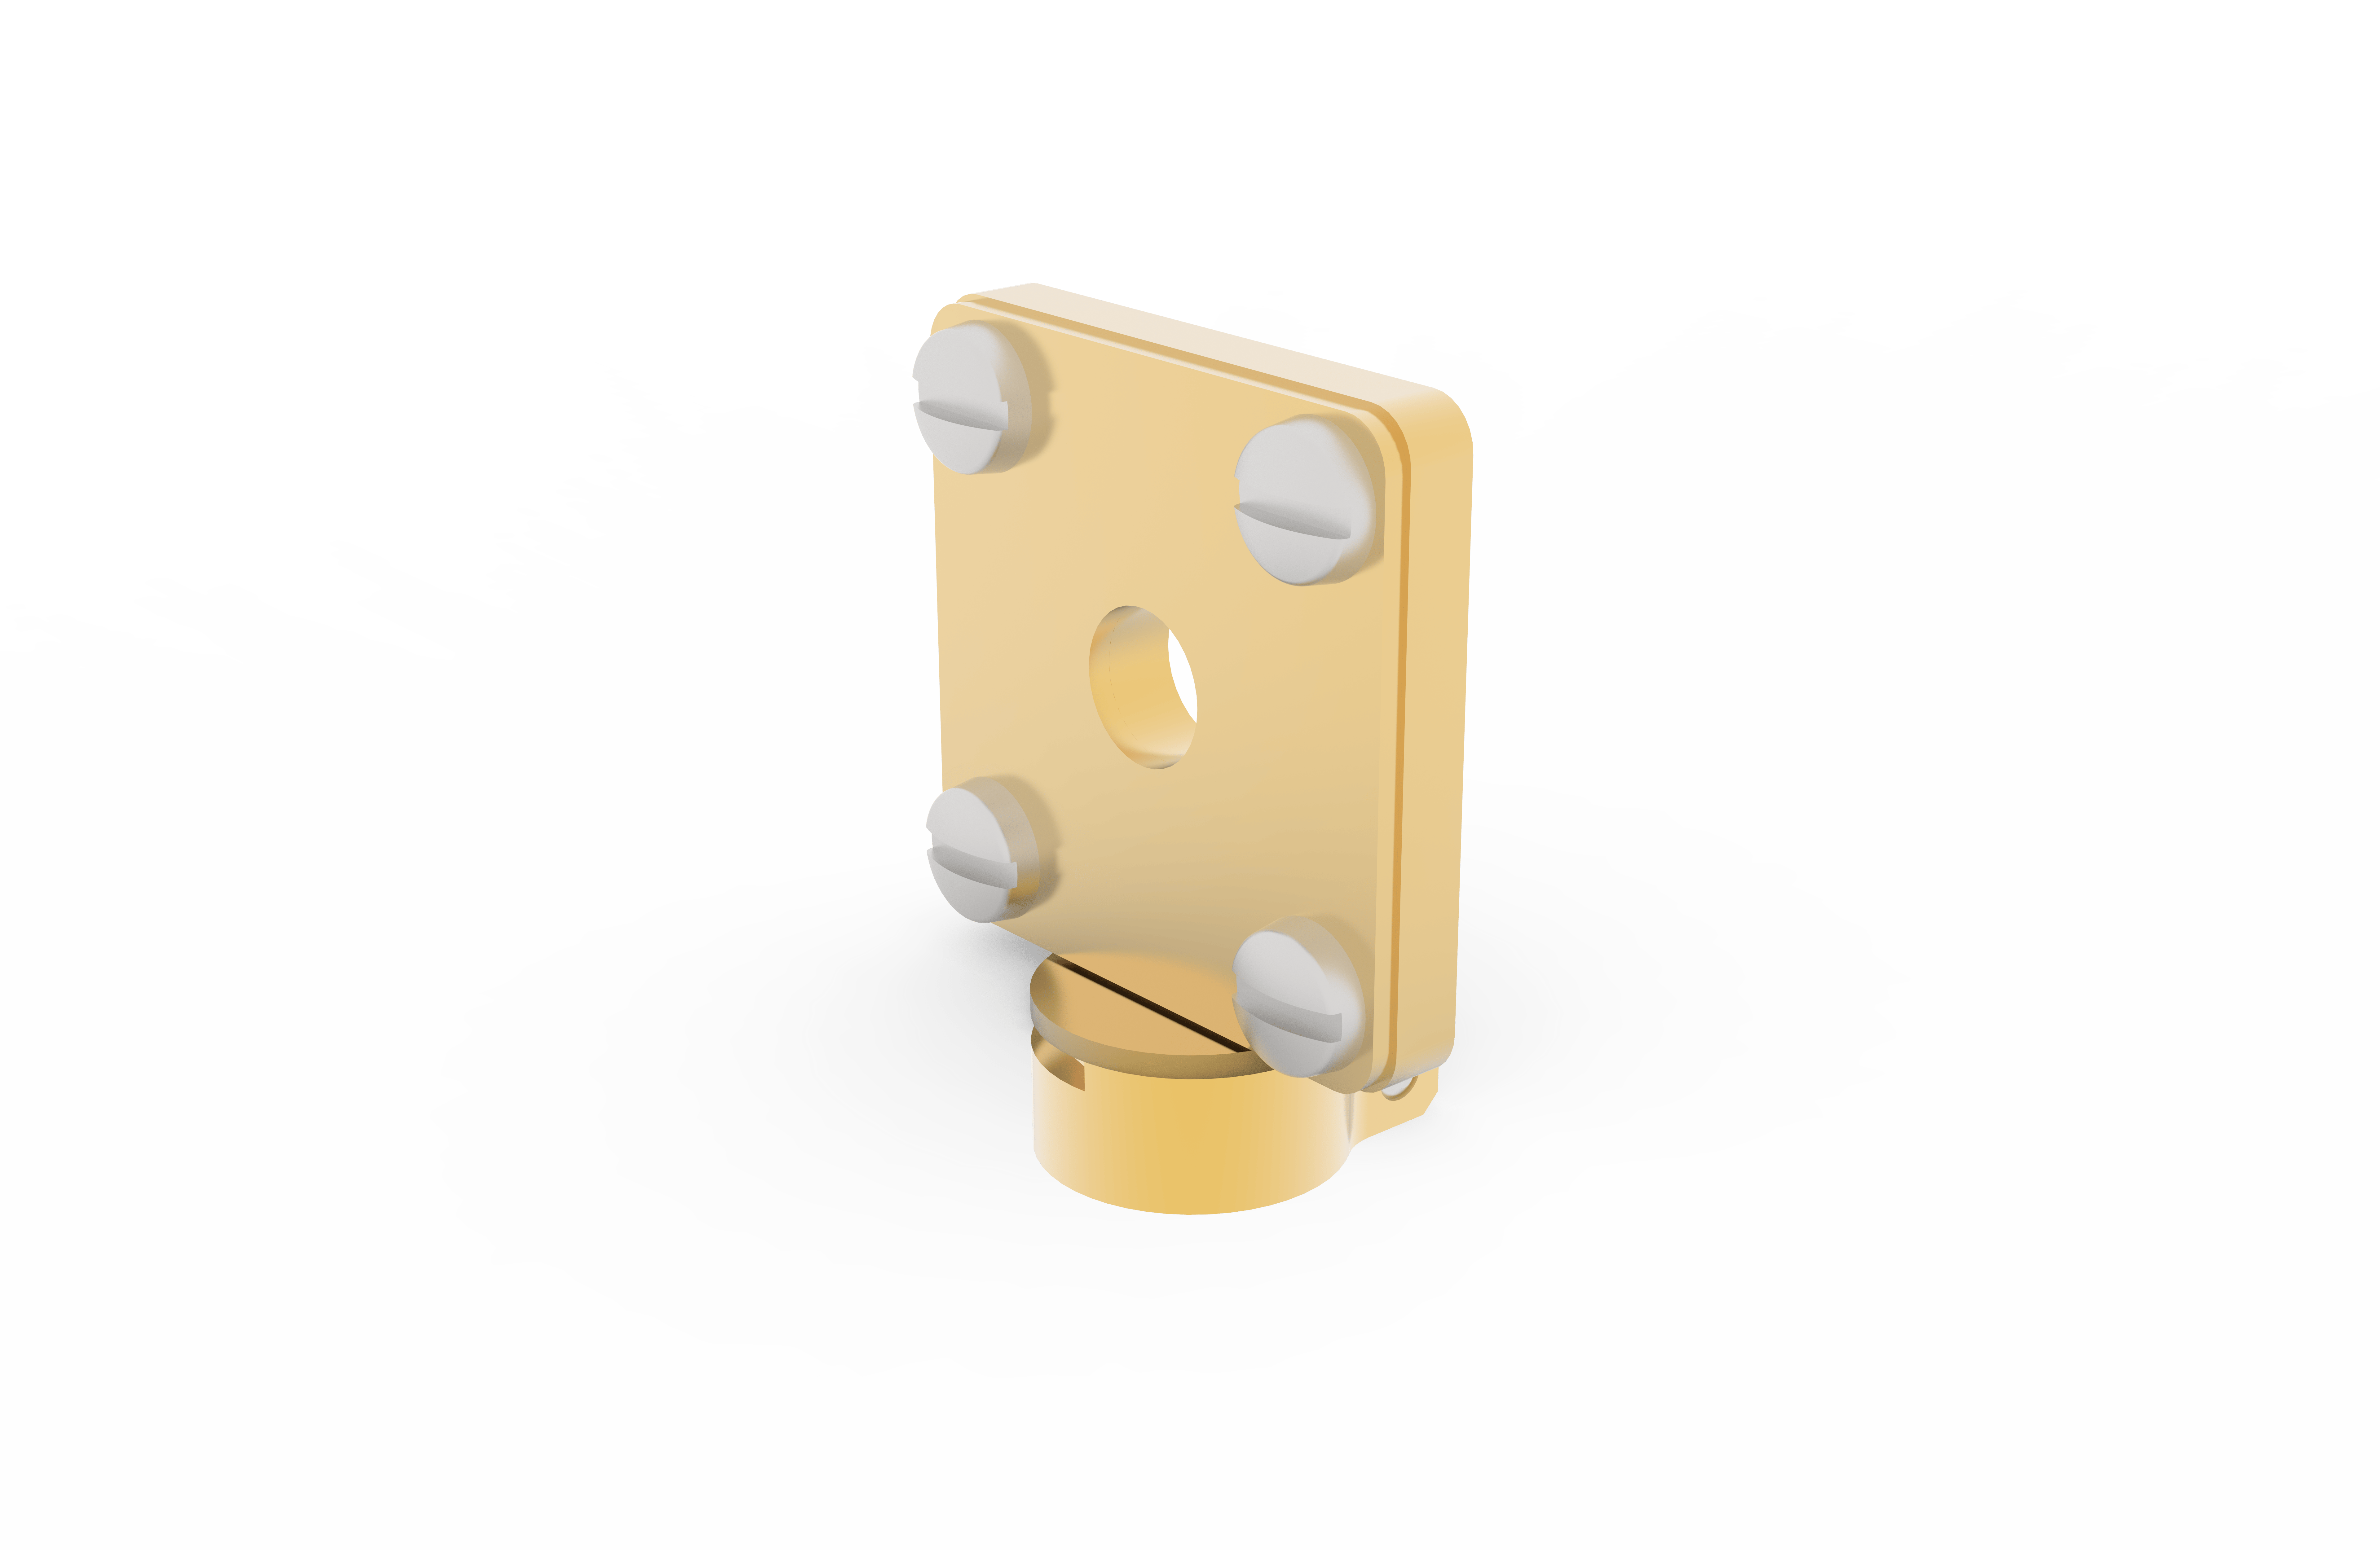
Our CryoAdvance™ systems are easily and quickly configurable using our currently released options. The physical interface between each category is a design standard so standard options are compatible throughout the CryoAdvance™ product family. For those who would like to dive deeper and customize certain components, our world-class Custom Engineering Team is ready to help.

To discover more about the available configuration options and how they work together in our CryoAdvance™ systems please visit our Interactive Product Viewer.

Documents
View List

Specifications

Video Guides

Guide
Description
Agile Temperature Sample Mount (ATSM)
Overview and demonstration of the Agile Temperature Sample Mount for a cryogenic platform. This sample mount allows rapid and precise sample temperature control from base to 350K.
Cryo-Optic®: High NA Imaging
Overview of the Cryo-Optic® technology on the Cryostation®. The Cryo-Optic® integrates a temperature-controlled, warm objective in vacuum into the cryogenic sample space for virtually drift-free high NA imaging at low temperatures. (Note: While this video features our vertical configuration, the Cryo-Optic® technology is also available in horizontal configurations for our larger platform sizes.)
Cryostation® Magneto-Optic Module: Low Temperature Magnetic Field Control
Overview of the Magneto-Optic for the Cryostation®. The Magneto-Optic module adds up to a 0.7T magnetic field to the cryogenic sample space while maintaining side and top optical access.
Cryostation® Overview: User Interface
Cryostation® Galaxy Software User Interface | System Overview, Navigation, Control & Settings
Cryostation® UI | Interactive Temperature and Vacuum Graphs
Overview of the Cryostation® Galaxy software illustrating how to access and manipulate the real-time graphical data display.
Cryostation® UI | ATSM - Primary Operations
Typical use for the ATSM Primary Operations: Cooldown, Warmup, Vent and Pull Vacuum with the Agile Temperature Sample Mount module.
Cryostation® User Interface | Magneto-Optic - Primary Operations
Typical use and calibrations of the Magneto-Optic module through Cryostation® user interface.
Assembling the Vertical Cryo-Optic®
This video shows how to assemble the Montana Instruments Cryo-Optic® within the 50 mm sample space.
Installing a 3-axis Nanopositioner Stack
This video demonstrates how to install a nanopositioner with thermal flex link assembly into the Cryostation® sample space.
Alignment, Imaging, and Use of the Cryo-Optic®
This video explains how to align an objective inside the Cryo-Optic®, how to image your sample, and how to use the Cryo-Optic® software interface and secondary back-up heater.
Optimizing Your Cryostation® System Performance
This video describes how to get the best performance out of your Cryostation® in terms of temperature and vibration by optimizing both internal and external environments.
Mounting a Thermometer in Your Cryostation®
Knowing the temperature of your sample in the cryostat is very important. To get good measurements, you must have a strong thermal connection to your sample area (ie. mounting) while minimizing the heat flow through the connecting wires to the sensor (ie. lagging). This video explains proper mounting and lagging techniques on several types of sample mounts.
How to Recharge the Helium Compressor
This video shows the steps involved in recharging the compressor and cold head with helium. Users should expect to do a helium recharge every 18-24 months to keep the system running optimally.